Updated on February 12, 2025
Enterprises today are increasingly turning to intelligent chatbots to streamline their business operations and provide AI in superior customer service. Integrating ChatGPT, one of the most powerful generative AI model, into Flutter presents a powerful opportunity to take these chatbots to new levels of intelligence and responsiveness.
In this article, we will cover –
- What is Flutter?
- Introduction to ChatGPT
- Benefits of using Flutter for chatbot development
- Steps to Create Chatbot with ChatGPT in Flutter
The modern day customers, on the other hand, are always on the move, and enterprise websites must provide a consistent experience across different platforms and devices. How do we ensure this?
Flutter- Google’s open source UI Toolkit, is your answer. Flutter is versatile and flexible, making it the best choice for creating intelligent chatbots for enterprises. There are a few unique benefits that Flutter offers, due to which, leading names such as Google Ads use it.
Supercharge your support team with AI-driven email ticketing – automate, organize, and resolve queries effortlessly!What is Flutter?
Flutter is Google’s Open-Source UI development software kit. Developers use Flutter to build an application’s user interface (UI) using Flutter. The advantage of Flutter is that there is a single codebase for both Android and iOS.
Also Read: 10 Things Every Flutter Developer Should Know
Build natively compiled apps for mobile, web or desktop using Flutter. Adding new features and functionality is also a breeze because the framework is extensible. Flutter also gives you access to widgets that let you build custom user interfaces.
Google Ads, Xianyu by Alibaba, and Postmuse are some of the big names that have used Flutter. Ever since its introduction in 2018, Flutter has been going from strength to strength.
A Brief Introduction to ChatGPT
ChatGPT is an Artificial Intelligence chatbot developed by OpenAI. When it came into mainstream on November 30, 2022, it took the internet by storm. It became the fastest growing consumer application in history, reaching one million users in just 5 days since its launch (for comparison, it took Instagram about 2.5 years to hit this milestone).
The training for ChatGPT took place on a lot of training data, including the web. ChatGPT can act as a powerful coding assistant, giving you detailed step by step instructions on building websites or mobile apps.
As you can see, anyone who has a basic understanding of computers can use ChatGPT to learn and build apps using Flutter chatbot.
Also Read: A Comprehensive Guide to Creating Customer Service Chatbots with ChatGPT for Enterprises
Benefits of Using Flutter for Chatbot Development
Cross-Platform Capabilities
This means enterprises can develop chatbots that run on Android, iOS, desktop and web platforms seamlessly with a single codebase. Development cost and time-to-market is thus reduced, meaning a significant financial advantage for enterprises that use Flutter.
High-Performance Rendering Engine
Skia, Flutter’s engine, gives its performance an extra boost, and chatbots built using Flutter have fast response times and smooth animations.
Hot Reload Feature
If a Flutter developer makes a change to the code, they can instantly see the changes reflected in the app UI. This feature makes the development process faster and enables rapid iteration and experimentation.
Expressive UI Framework
This enables developers to create visually stunning chatbot interfaces that align with enterprise design guidelines.
Also Read: How to Integrate Dialogflow with Your Flutter App
Start Building Your AI Chatbot Without Sign up Steps to Create Chatbot with ChatGPT in Flutter
Let us see how you can integrate ChatGPT with Flutter chatbot, using you can follow this steps:
Step 1: Log in to the Kommunicate Dashboard
Go to your Kommunicate dashboard and navigate to the Bot Integration section.
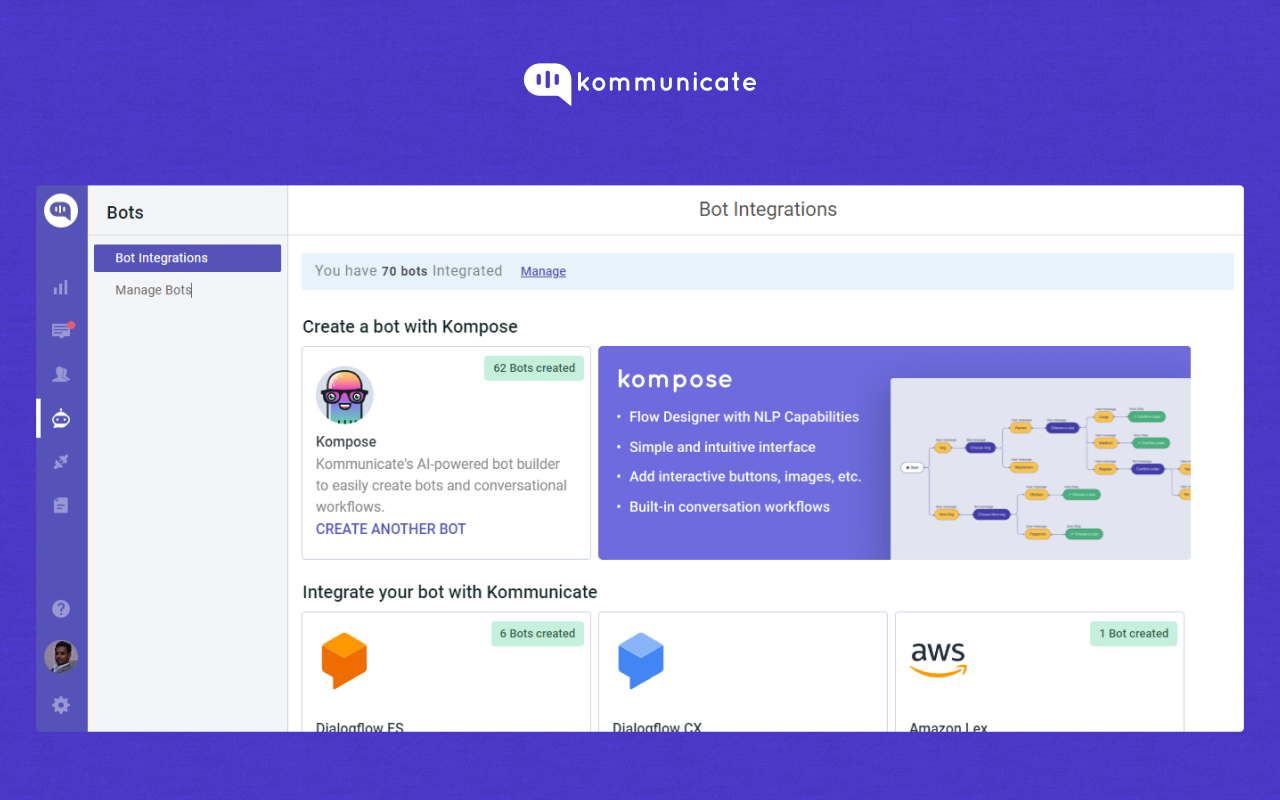
Look for the Kompose section and click on Integrate Bot.
Next, complete the setup of your bot by specifying its name, language, and human handoff setting. Once you configure these, proceed to finalize the bot setup.
Step 2: Create Welcome Message & Intents for your Flutter Chatbot
Navigate to the ‘Manage Bots‘ section and choose the bot you have created using compose chatbot builder.
Next, you need to set up the welcome message for your chatbot. The welcome message is the initial message that the chatbot sends to the user who starts a conversation.
Click on the “Welcome Message” section, then, type the message that your chatbot should show to the users when they open the chatbot and save the welcome intent.

After creating the welcome message, the next step in chatbot building is to create Intents (questions and answers). In the “Answer” section, you can add all the possible user’s questions and the chatbot’s corresponding responses.
To get started, click on the “+Add” button and provide an “Intent name”.
- “Step 1: User Says”, you need to specify the phrases/questions that will trigger the chatbot’s response. In the
- “Step 2: Bot Says” section, you need to specify the chatbot’s response to the user’s message. You can add multiple answers and follow-up responses to make the chatbot more interactive.


You can also refer to this document for Kompose chatbot integration with Kommunicate.
Step 3: Activate ChatGPT
On the same page, you will find ⚙️Settings (top right corner of the page).
Click on Settings, the first option would be “Connect with OpenAI ChatGPT”, enable it.
And lastly, disable Small Talk (the last option on the same page).

Step 4: Activating the Chatbots
After creating a bot, you can activate it by setting it as the default bot in the conversation routing rules section.
Follow the steps below to do this:
Click on the Settings icon (below the profile picture) and select “Conversation and then Rules”
Next, look for “Routing rules for bots.”
Then, select the desired bot from the list and set it as the default bot.

rom now on, this bot will automatically respond to all of the conversations.
Step 4: Install Kompose Chatbot into Flutter App
With Kommunicate Flutter SDK, you can effortlessly incorporate personalized live chat in your applications. It has support for numerous hybrid platforms that are widely used at present. This SDK offers a quick and efficient method to develop native apps for both Android and IOS.
Before you begin using Kommunicate, ensure that your applications are compatible with Xcode 11 or higher and that AndroidX is installed.
Step 5. Add Flutter SDK to Your App
- Add the below dependency in your pubspec.yaml file:
dependencies:
  //other dependencies
  kommunicate_flutter: ^1.6.4
2. Install the package as below:
flutter pub get
3. Import the kommunicate_flutter in your .dart file to use the methods from Kommunicate:
import 'package:kommunicate_flutter/kommunicate_flutter.dart';
4. For iOS, navigate to YourApp/iOS directory from the terminal and run the below command:
pod install
Note: Kommunicate iOS requires minimum iOS platform version 12 and uses dynamic frameworks. Make sure you have the below settings at the top of your iOS/Podfile:
 platform :ios, '12.0'
 use_frameworks!
Step 6. Get your Application Id
Navigate to the Install section to get your APP_ID. This APP_ID is used to create/launch conversations.

Step 7. Launch Conversation
With Kommunicate’s build conversation function, you can create and launch conversations directly, without the need for authentication, initialization, and extra steps. You can customize the process by building the conversation object based on your specific requirements.
To launch a conversation, you need to create a conversation object, which ypu then need to pass to the build conversation function. Based on the parameters of the object, the conversation is created and launched.
Here’s an example of how to launch a conversation:
dynamic conversationObject = {
'appId': '',// The APP_ID obtained from kommunicate dashboard.
};
KommunicateFlutterPlugin.buildConversation(conversationObject) .then((clientConversationId) { print("Conversation builder success : " + clientConversationId.toString()); }).catchError((error) { print("Conversation builder error : " + error.toString()); });
Now you are ready to chat with the ChatGPT powered bot on your Flutter app!
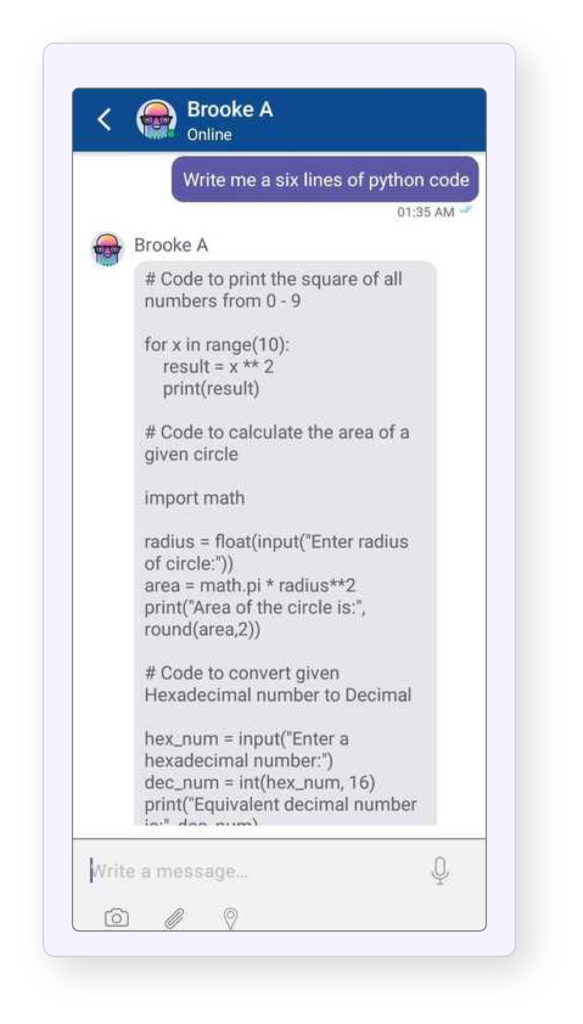
Kommunicate Sample Application
Download the sample app from here which includes ready-to-use Kommunicate Flutter SDK.
Go ahead and explore the Flutter chatbot integration with Kommunicate!

As a seasoned technologist, Adarsh brings over 14+ years of experience in software development, artificial intelligence, and machine learning to his role. His expertise in building scalable and robust tech solutions has been instrumental in the company’s growth and success.
At Kommunicate, we envision a world-beating customer support solution to empower the new era of customer support. We would love to have you on board to have a first-hand experience of Kommunicate. You can signup here and start delighting your customers right away.

